This post contains affiliate links and I will be compensated if you make a purchase after clicking on my links.
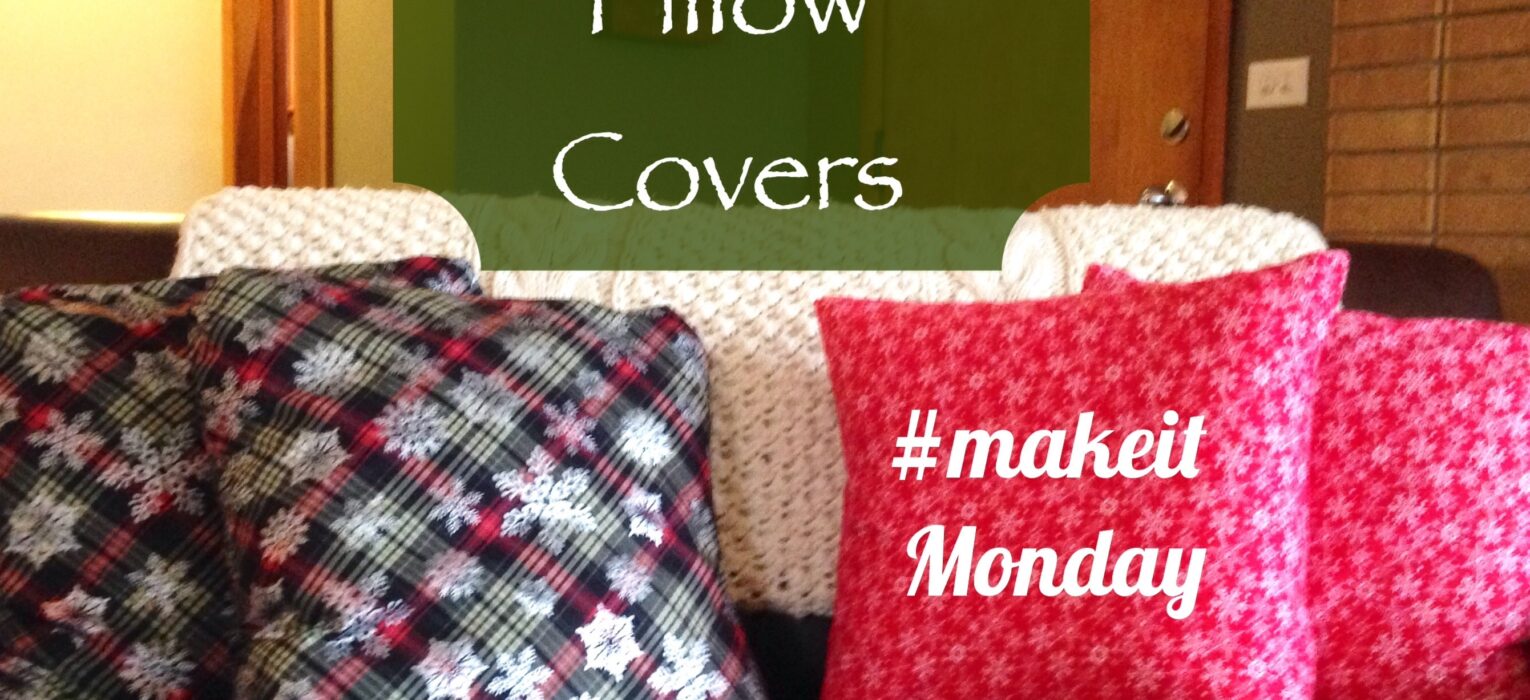
Add a touch of Christmas cheer to your everyday throw pillow by making your own pillow cover.
I was getting ready to decorate for Christmas, I realized my throw pillows don’t really go with a holiday theme. Instead of going out and buying holiday themed pillows, and then figuring out where to store them when the holidays are over, I decided to make my own pillow covers. How hard could it be?
 As it turned out, it was incredibly easy. Using a coupon for material at JoAnn Fabrics I headed out. I had four pillows I wanted to cover and hate it when I just don’t have enough fabric. I settled on getting 2 yards of 2 different winter themed material. There is plenty of material left over, possible future project? One was a cotton and the other more of a flannel cotton.
The items needed are: material, matching thread, tape measure, straight edge, rotary cutter
, and a sewing machine. I also used an iron, but this is optional. I find it easier to make a good seam with a iron rather than my own hands. The pillows I worked with are square, but you could use this pattern for rectangular pillows also. It is a basic envelope pillow cover.
MEASURING FOR YOUr pillow COVER
 You will need 3 pieces of fabric to make your pillow cover. One square piece for the front and two rectangles that will overlap partially in the back. I gave myself a half inch seam allowance around the front cover. The two back panels were the same width as the front, but needed to overlap about 4 inches.
My first pillow was a square pillow with sharp corners measuring 18″ by 18″ square. Front panel was 19″ by 19″ square and the two back panels were 19″ by 13″. Measure your pillow and add a inch to your height and width dimension. Keep the same width for the back panels. For the height divide the height in half and then add 3.5 inches to the remaining number.
Time to cut. This step for me is always the most labor intensive, I have a history of not being precise in my measurements. I just want to get to the finished project so I always have to double check my measurement marks before I cut.
Prepping the material
Take the two back panels and iron an approximate half inch seam along the width of the pillow cover (the longer side). This will be the edges that you slide the pillow slides past when you pop it in. 
 Sew along the ironed edge with a straight stitch of the two back panels.
Pin that Pillow Cover
Lay the front panel on your work surface design side up. Line up your back panels design side down matching up to the edge of the front panel. Your back panels should over lap at the middle of your pillow. Pin around the edges.
Sew around the entire square within a half inch of the edge with a straight stitch. Next I sewed around the pillow cover with a zigzag stitch coming up to the edge. I have two small boys who like to make forts and crash pillows. I want these covers to last for more than one Christmas season, so a little reinforcement was due. 
Not All Pillows are Created Equal
My first set of pillows I made covers for was a square with nice sharp corners. My second set of pillows had a more rounded off corner. All of the the steps were the same, except when I came to each corner I sewed diagonally from about 2 inches from the corner with my straight stitch.
 After that I proceeded to trim off the excess material and edge again with the zigzag stitch to reinforce.
Inside out your pillow cover and pop your pillow inside. See how it fits, if you feel it’s a little too loose, don’t junk the whole project. Reverse the pillow again and make another pass around the inside of your straight stitch to shrink the width and height of your pillow cover.
I love how both of my sets of pillows turned out. My step father in-law has already taken a nap on one of them and my boys have used them for forts. I think that means that they pass the test.
I would love to know what projects you do around your house to add to your holiday decor. Please feel free to comment with any questions about this project.


Anne Markey
these look like a great project. I have been trying to get back into sewing and like finding easy and simple tutorials. thank you
Kim Amy
I’m so glad you enjoyed it. I am a novice sewer at best. These were incredibly easy to make.
Kim Smith
I am not much of a sewer, at least not as much any more, but I might be able to do this. I need some new pillows for a new sofa I got. Don’t like the ones it came with so I am trying to find a fabric I like and make some. Great instructions!
Kim Amy
Thanks it was one of my first sewing tutorials I’m glad you were able to follow them!
HJ
These turned out great! JoAnn Fabrics are awesome. Thank you for sharing!
#TrafficJamWeekend
http://coffeemoundslipstickclouds.blogspot.com
Kim Amy
Thanks so muchHJ I have to restrain myself every time I go in there.
Barrie Bismark
Wow! Even I might be able to do that! Great idea. I have some pillows that I would love to cover.
Kim Amy
Barrie, so sorry it took me so long to get back to you. If I can do it you can, I am a self taught novice sew-er.