This post contains affiliate links and I will be compensated if you make a purchase after clicking on my links.
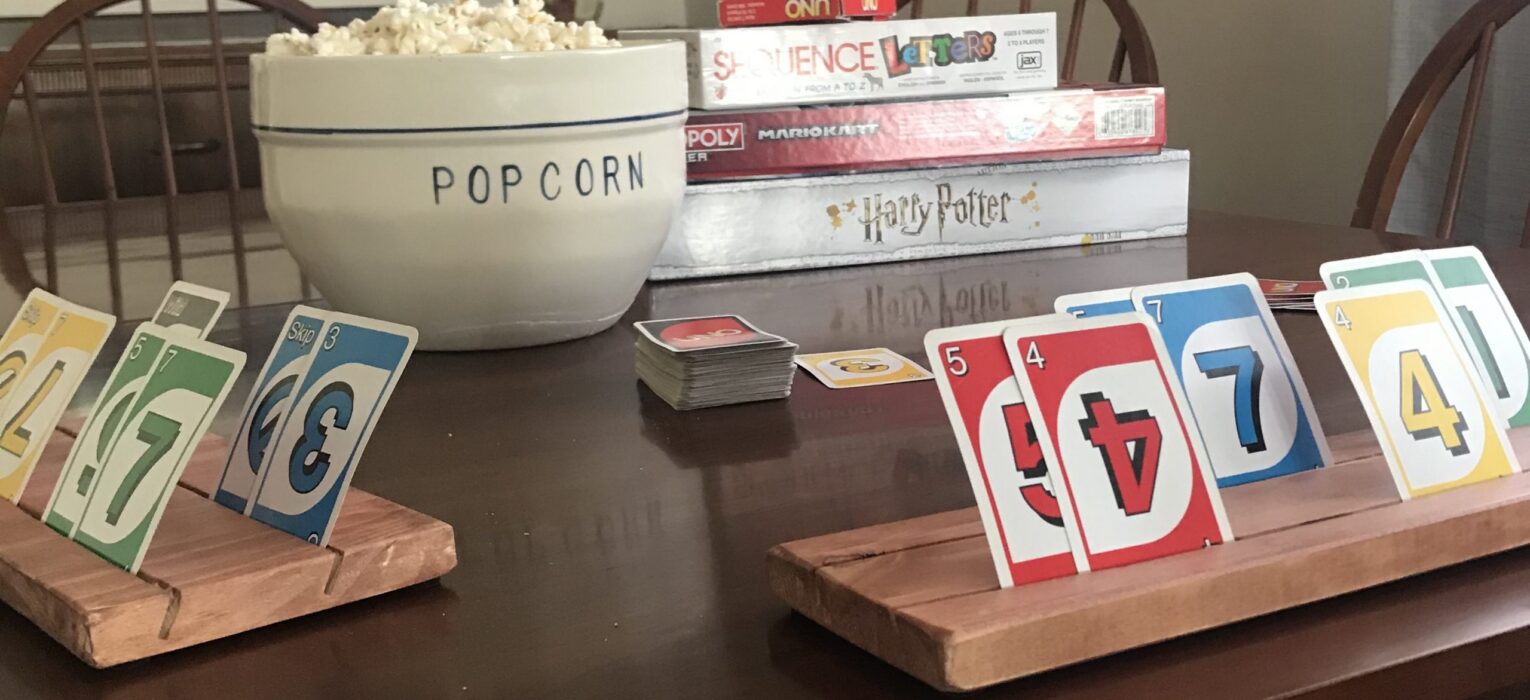
My boys and I have a regular game night. The last time we played I realized the boys needed some playing card holders. In addition to being able to hold and organize your cards, this playing card holder lets your hands be free for munching on popcorn. That’s a win for everyone! The DIY card holder is a simple home project that needs very little supplies.
Let’s do this!
Supplies:
Click on any image below for easy shopping.


- scrap pieces of wood
- stain (if wanted)
- polyurethane (if wanted)
- felt adhesive rounds
Tools:
Click on any image below for easy shopping.


- circular saw
- rotary sander
- supplies for staining/painting/polyurethane
Let’s Get Started
The scrap piece of wood I would recommend should be about an inch thick, any thicker the cards will be partially hidden. (I know I tried, I wasn’t happy). The size of the each card holder is approximately 4″ x 10″, but these are not exact. It is scrap wood so make it the size you want! Okay time to cut some grooves.

Getting to know your saw
Circular saws have all generally the same design. First we need to adjust the depth of the saw as it’s cutting through the wood to make the grooves, not to cut through the card holder entirely. You will need to adjust the depth and the angle of the blade.

To decrease the depth that the saw is going through the wood you need to adjust the level of the shoe. (The shoe is the horizontal plate). There is a lever in the back of the saw, typically under the handle. Pull that up and you can adjust that level.

The angle is adjusted by the lever in the front. Flip that up and adjust to the angle you prefer, I did about a 30 degree angle. Make sure to tighten the levers so that the saw is secure at those depths and angles.

First cut in a scrap piece of wood you DO NOT intend to use for your card holders, just to make sure you have everything the way you like it. Then get out your card holder pieces of wood and cut on through.
Finishing Your Card Holder

Next you can either hand sand or use your orbital sander and smooth over all the edges. My kids do not like to get splinters, not sure about yours…. I started with 120 grit and moved to 220 grit. As the number goes up in sandpaper the coarseness becomes more fine.
This circular sander is one of the most helpful tools in my arsenal. I use it for almost every project including the first piece of furniture I ever made, Over the Bed Table. Check out how I treated the wood in this post.

Next finish them off with paint, stain and polyurethane of your choice. Bare wood is a great option too. I finished mine with poly because I know my kids will spill on them, or I will, at some point.

Next add some little feet to them so they do not scratch the surface of your table. I love this Thomasville furniture and surface protection kit, I use it so often for almost every piece of furniture in my home in some way.
Time to Play Cards
Time to get out the cards and put this card holder to the test. Pop some popcorn and have a fun game night that everyone can participate in!


