This post contains affiliate links and I will be compensated if you make a purchase after clicking on my links.
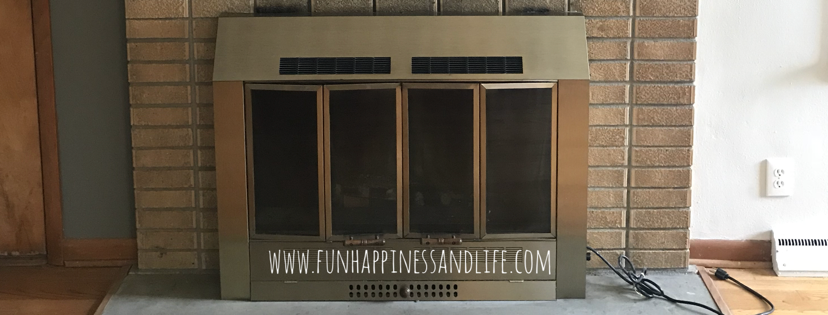
I am always amazed at what just a little bit of paint can do to change the whole feel of room. Having a wood burning fireplace in my home is something I love, but the look of my fireplace was not attractive. It had a gold fireplace insert and soot covered bricks. It made my front room appear dark and dingy. Time to upgrade this fireplace.
BEFORE

AFTER

FIREPLACE BRICK SUPPLIES:
click on any image below for easy shopping


- TSP solution
- Scrub brush
- high nap paint roller
- large brush
- interior paint
- painter’s tape
METAL SURROUND SUPPLIES:
click on any image below for easy shopping


- foam brush
- high heat paint
- painter’s tape
WALL PAINT SUPPLIES:
click on any image below for easy shopping


- paint roller
- paint brush
- painter’s tape
- interior paint
Step 1: Clean the Brick
Protect the area with paper, tape and protective sheets. Started by vacuuming off the brick of loose debris. Mix the TSP with warm water as the instructions on the label describe. Scrub the bricks with a controlled hand to avoid spattering the TSP around the room and rinse off.

Step 2: Paint the Metal Surround
Use high grit sandpaper to rough up the surface of the metal surround so that the paint adheres well to the surface. I like the control I get when I use a sandpaper block, but have a bunch of loose paper. Solution is to wrap the loose one around the other.

Use the high heat paint on your surround and any interior bricks. Basic interior paint will work for the bricks outside of the fireplace. Apply the high heat paint with sponge paint brush rather than a bristle brush to avoid brush strokes on the metal surface. Tape off any of the areas you don’t want the high heat paint to touch and apply 2-3 coats waiting for ample dry time in between.

Step 3: Paint the Brick
Start by painting over the mortar between the bricks. My bricks are very rough I used an older brush and when I was finished with the project it was destroyed. A couple of coats should do the trick.

Using the thicker nap rollers (the rougher your brick the thicker the nap you will need). My bricks are pretty rough so I used 1 1/4 inch nap roller. Roll out the bricks, allowing drying time in between coats.

Step 4: Look around the room and find another project…Paint the Wall!
The fireplace looked great when it was all done! The wall needed an update now that the fireplace looked better. Since I had all the supplies out…

Time to paint the wall a whole new color….since I already had the supplies out. Isn’t that the way it always happens, one project turns into another.

This room has become my favorite in the house. It is so bright an welcoming rather than dingy and dark. I never knew it was so easy to paint your fireplace.

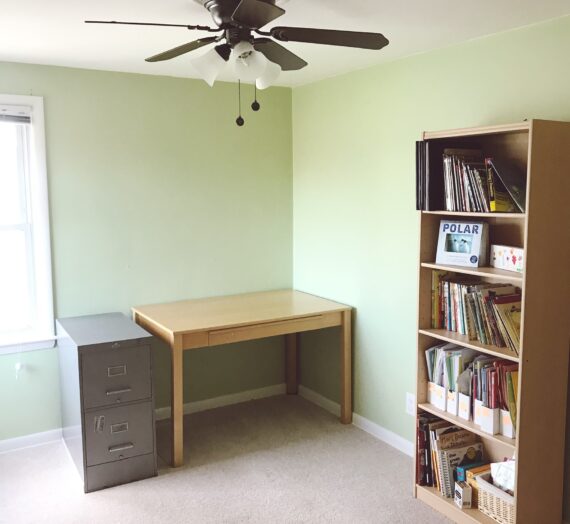
This is the same room I completed my simple IKEA furniture revamp, check it out here.

Head on over to my Instagram page at Fun Happiness and Life, my highlights contain more pictures. Give me a follow and you can see if I end up adding a mantel!!
All of the supplies are linked in my Amazon Idea List: Fireplace Upgrade, for your easy shopping pleasure!


