This post contains affiliate links and I will be compensated if you make a purchase after clicking on my links.
Taking this old file cabinet and giving it an upgrade for the One Room Challenge. First fixing up the file cabinet with some elbow grease and paint. Then I’m planning on making a base so that it raises off the floor and is more portable. Let’s bang out this quick DIY this weekend!

FILE CABINET UPGRADE

Supplies:
Click on images below for easy shopping.


Cleaning up the exterior with a little Goof Off, some vinegar and possibly some rubbing alcohol. Many stickers and pieces of tape have found their way onto this file cabinet. Goof Off worked the best for me to get the sticky stuff gone and a water vinegar mixture helped to clean up the rest.

Using the sand paper to rough up the surface so it takes the paint. I started with the areas that weren’t going to be pink with Metallic Pure Gold by Rustoleum.

Allowed that to dry and covered with painter’s tape before applying the pink layers. A sharp utility knife worked great to get a crisp edge on the tape.

Ready for the pink paint on this old file cabinet! When using spray paint try to remain 6″ or more away from the surface applying thin layers. This will help you to avoid drips. If drips occur allow the paint to dry, sand off the area and reapply.

MAKING THE BASE

Supplies
Click on any image below for easy shopping


Using scrap wood I had on hand: pressed plywood for the base and ripped down baseboards for the edges. The base wood needs to be strong enough to hold the load, my file cabinet is small (15″ x 18″) so this plywood will be able to hold it. I cut the base about 1/4″ larger than the bottom of the file cabinet.

The baseboards got ripped down and mitered to a 45 degree angle to frame the base. Here’s the mock up before I started attaching the framing pieces to the plywood. Check out that PINK!

Next attach the frame with a combination of wood glue and pin nails. The frame will not be holding up the file cabinet, but it will clean up the edges of my base wood.


To cover the pins or any imperfect mitered corners on the frame, I fill with plastic wood. As an alternative you can use a combination of sawdust and wood glue. Allow it to dry and sand flat. Both the wood-glue-sawdust combination and plastic wood are sand-able and stain-able.

Prior to staining anything I give it a good sand, wipe with a tack cloth and apply some wood conditioner. The pre-stain wood conditioner helps the stain to absorb evenly into the wood. After the pre-stain, I applied 2 coats of the gel stain. When applying gel stain the first layer is applied AGAINST the grain, which is usually hard for me to remember.

I made the mistake of adding the casters prior to finishing the frame. When you make yours add the casters after the frame is affixed and stained. I found these casters, where else but Amazon.


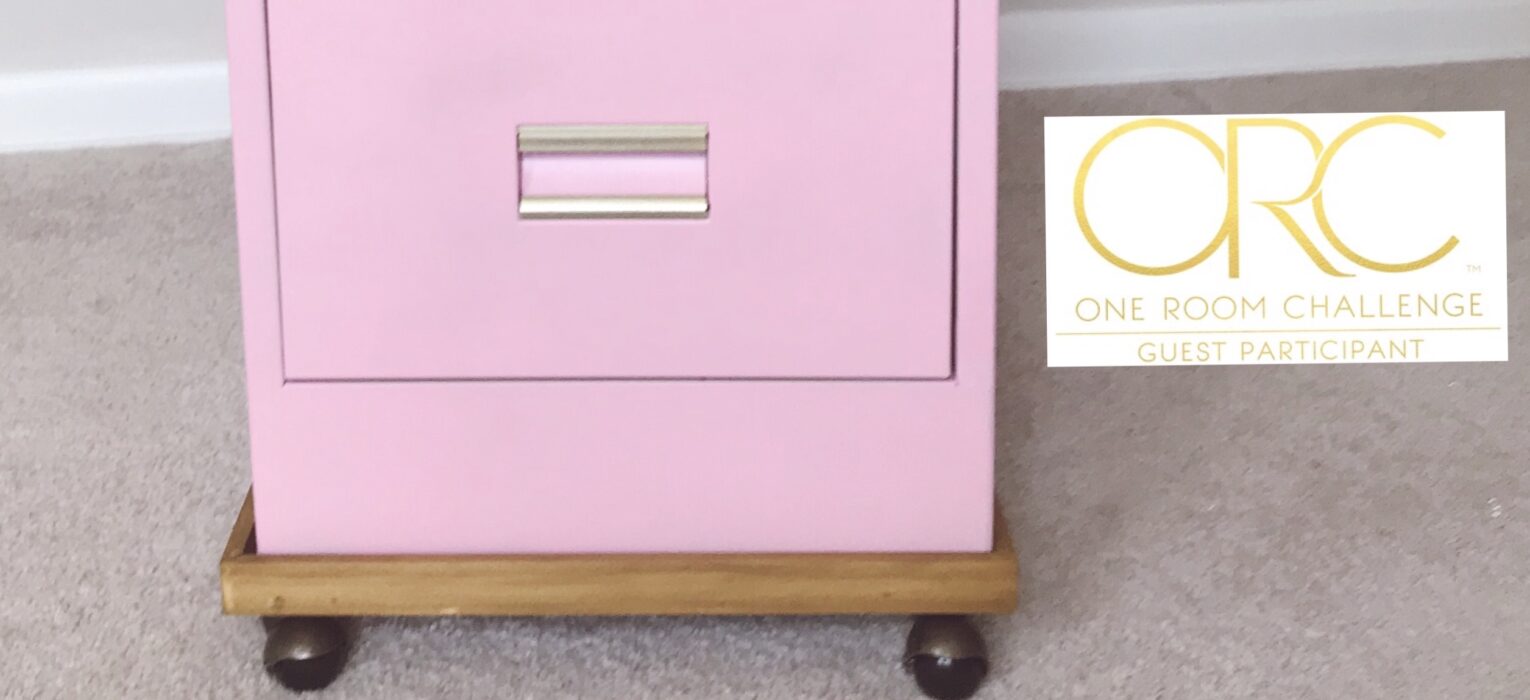
File Cabinet Upgrade is Complete!!

This the first piece of furniture I am placing in my empty room for the One Room Challenge. I am redesigning my catch-all room into a functional office with guest room additions for any visitors. Catch up with my activities over on my Instagram page at Fun Happiness and Life. I saved the process in my highlights under file cabinet.
The One Room Challenge is a great place to find inspiration for your home. Head over and check out what the other guest participants have linked up this week!


