This post contains affiliate links and I will be compensated if you make a purchase after clicking on my links.
This post contains affiliate links, I receive compensation if you make a purchase using this link at no additional cost to you, see my full disclosure statement in the footer.
I got crafty this past week with my new recipe box. I am a user and lover of hand held devices….except when cooking. Do you get frustrated when you’re trying to follow a recipe and…a pop up comes up…your device shuts down because you didn’t need to look at the recipe for awhile…or your kids come in and say “can I have iPad time?”… your fingers are sticky/wet/floury whatever and you need to scroll for the next step. That is why I continue to stick with cookbooks or and handwritten recipes. I have one new recipe box I crafted up and one old-new-to-me recipe box that I don’t want to alter.
 Mr. P got me new recipe cards this year for Christmas, instead of writing on basic 5×7 note cards and I love them. I have been using them for every recipe I make.
A few years ago, my mom copied and laminated my grandma’s, great grandma’s and her handwritten recipes for gifts for my sister and myself. I love these recipes. It really tickles me when recipes call for things like “oleo” and the instructions are written just how I remember my grandmother talking. I recently got an old recipe box from one of my grandmothers and inside it was a treasure trove of old recipes like the one I altered for rhubarb crumble.
 The old-new-to-me recipe box holds 3×5 recipe cards and the cards Mr. P got me were 5×7. I decided I needed two types of recipe boxes anyways. Enter into the wonderful world of Amazon shopping.
I was planning on using one recipe box for food recipes and one for homemaking recipes, like I use when making my own laundry detergent. The 3×5 box from Grandma fits my meager supply of essential oils and I was so happy to find theses recipe cards with protective covers. Perfect for when you are handling coconut oil and you don’t want to smudge your recipe.

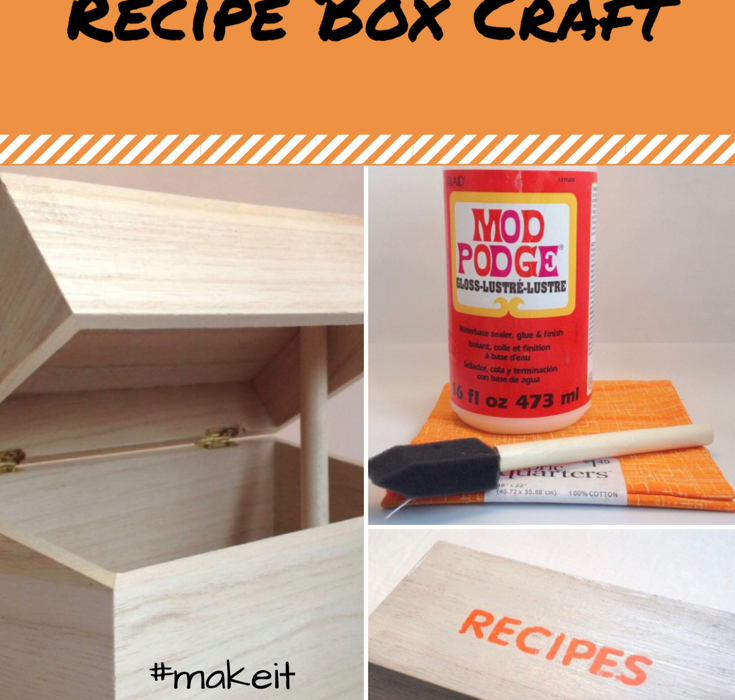
I was excited to alter this Wood Recipe Box to hold my new 5 x 7 recipe cards. This one I liked because of it’s potential, price and simplicity. I have been loving the colors gray and orange so I dug through my fabric, Mr.P’s paint and some old scrap-booking supplies and got to work. The following is a quick step by step.

TIme to Craft
- Get supplies, naked recipe box, Mod Podge
, material.
- Cut fabric to size needed to fit bottom half of box and a little extra to wrap over the bottom edge. Trace around the box to get the size you want.
- Begin to glue on the fabric. You don’t need to use fabric Mod Podge because we are not going to wash the box. Fair warning: I am very impatient and don’t allow items to dry thoroughly. As a result my material has air bubbles in it and I know that there is a brayer in the picture, I used it but obviously not enough.

- As I was not waiting for the material to dry I started in on the top.
 First select a base color, orange, for your letters. Apply that, and allowed it to dry (mostly). Place stickers from your scrap-booking supplies upon the color and then paint the top all gray.
- Let the gray paint set for awhile, but don’t let it get totally dry. You want to be able to peel off the stickers. Using a combination of fingernails, a toothpick and a tweezers remove the letters as cleanly as you can.
Here’s the result!
 I really like how it turned out. I am thinking of adding some washi tape around the material top edge of the box, but I didn’t have any in my house and my older son was too sick to head to Hobby Lobby with me. He just wanted to keep watching Wild Kratts. I am holding off on spraying it all down with a sealer until I decide on the tape.
I am so excited to fill these recipe boxed up with new concoctions and great food ideas. Thanks for joining me on this Make it Monday. Check out FUN HAPPY NOOKS at the right of the page for more Make it Monday creations.


