This post contains affiliate links and I will be compensated if you make a purchase after clicking on my links.
My front door was bare after I took down my Christmas decorations and I was ready to come up with a new wreath for winter. I had an old wreath form that I hadn’t used yet and was trying to think what I wanted to do with it. The wreath was a straw one, but had been in the basement for awhile and when I got it out I noticed it was starting to unravel.
What’s a Crafty Girl To Do?
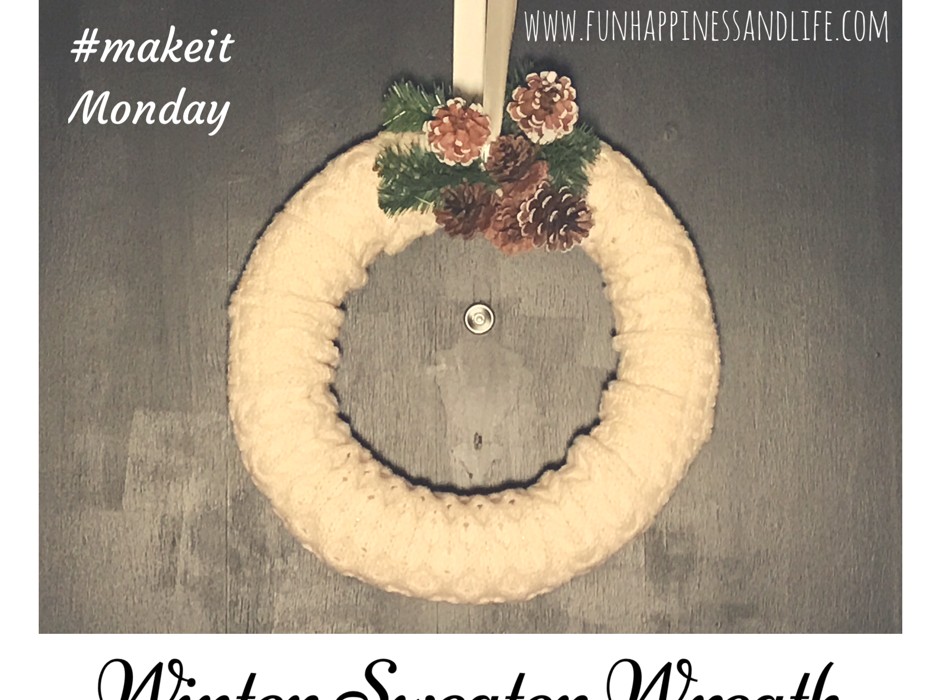
I just wrapped it with clear tape and moved on with deciding what to do next. Lo and behold I found a sweater that had seen better days and made it into this terrific wreath that now hangs on my front door. I thought the acorns and pine sprigs made a great accent to the wreath and the warmth of the sweater makes the door feel very cozy for the winter.
The first step like any good DIY is pour yourself a glass a wine and assemble your supplies. I have a straw wreath form, an old sweater, safety pins and a scissors. 
Next lay your old stretched out sweater and cut about ten inches up from the bottom. (FYI this post is going to be picture heavy and instruction light, because it is so simple, needing little explanation.)
Lay your wreath over your cut out sweater.
Pin the sweater around the wreath in four opposing sides.
Proceed to pin the sweater around the wreath pulling it as tight or loose as you please. This all depends on how you want your wreath to look. The nice thing about this wreath is you can flip it over to check on how it’s looking. You also can check on where you need more pins. (you can see where I need them, right?)
When you feel you are done the back of the wreath should look like the below picture.
The front should look similar to this. If you are not happy with it go ahead and re-pin. This project up to this point has taken me about 5 minutes.
Five Minutes for a Wreath!

That’s it everyone. Just take a ribbon and string it up. I wanted to add a little something to it so snipped a few sprigs off an old wreath and grabbed some pine cones from the clearance section at JoAnn Fabrics this morning.

I hope you enjoyed this Make It Monday DIY project. If you are looking for more fun crafts to be able to complete on your own subscribe to this blog. You can complete this one when your kiddos are running around at your feet! Please enter your email under SIGN ME UP or follow me on social media.


Lisa Silfwerbrand
What a great idea! I love it and it looks so easy to make. I could handle this 😉 It just looks perfect for winter in Canada 😉 Thanks so much for linking it up to our Inspiration Galore Project Party. You are one of my Features tomorrow over at http://www.recreateddesigns.com. Shared and pinned. Have a great weekend!
Kim Amy
That’s awesome thanks for featuring me! This was by far the easiest wreath I ever made!